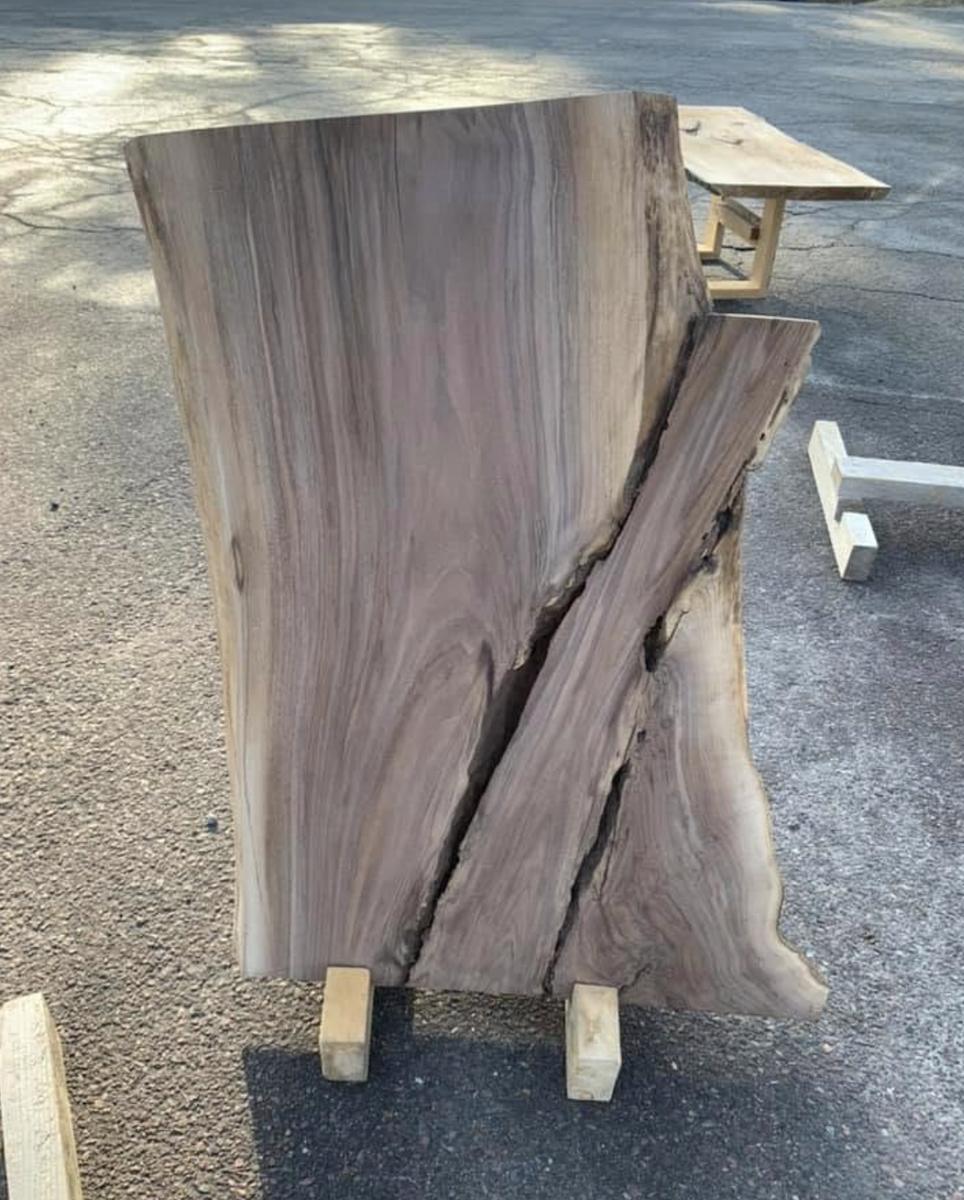
How to Cut and Install Butterfly Keys in a Live Edge Slab
A step-by-step guide to butterfly keys for live edge slabs: when a crack needs one, how to size and place keys, router and hand methods, glue-up, and trimming.
Quick answer: A butterfly key is a double-dovetail inlay set across a crack so the crack cannot keep spreading. Make keys from dry, straight-grained hardwood with the grain running the length of the key, which puts it across the crack. Flatten the slab first, center the narrow waist of the key on the crack, set one key near the crack's tip, rout a recess slightly shallower than the key is thick, glue the key in, and trim it flush once the glue cures.
Cracks come with the territory in live edge work. A slab that has dried from a large log almost always carries a few checks, and some of them run deep. Butterfly keys are the traditional way to deal with the ones that matter. Done well, they hold a crack in place for good and add a detail people notice. Done carelessly, they crack themselves or leave gaps that show forever. This guide covers when a crack needs a key, how to size and place one, and how to cut and fit it by hand or with a router template.
What does a butterfly key actually do?
A butterfly key, also called a bowtie or dovetail key, is a small piece of wood shaped like two dovetails joined at their narrow ends. It is inlaid into a matching recess so that its waist sits over the crack and its wide ends sit in solid wood on either side. Because the ends are wider than the waist, the two sides of the crack cannot pull apart without breaking the key.
A key holds a crack where it is; it does not close it. Trying to clamp a crack shut in a dry slab builds stress into the wood, and that stress tends to find its way out somewhere else. Stabilize the crack at its current width, then fill the gap with epoxy if you want a smooth, solid surface.
Does every crack in a slab need a butterfly key?
No. Plenty of cracks are stable and only need filling. A key earns its place when a crack could plausibly keep growing or carries real stress. Good candidates include:
- End checks that run several inches into the slab, especially on a top that will overhang its base
- Cracks that cross a span between supports, such as on a bench seat or a shelf
- Splits that have already opened noticeably since the slab was sawn
- Cracks along the pith or through a weak area like a large knot
Small surface checks in a fully dried slab can usually be filled with thin CA glue or epoxy and left alone. Moisture matters more than anything here. A key will not stop a slab that is still drying from moving and checking, so make sure the wood is at a stable, furniture-ready moisture content first. Our article on why kiln-dried slabs matter covers what that means and how to acclimate a slab before you build.
How big should a butterfly key be?
There is no single correct size, but a few rules of thumb hold up well across most slabs.
Length, width, and waist
Keys for furniture slabs commonly run from about 3 to 6 inches long, with larger keys reserved for wide cracks or very large tops. Each wing should reach at least an inch or so into sound wood past the edge of the crack. The waist is typically about a third to half the width of the ends: narrow enough that the wedge shape locks, wide enough that the waist itself is not fragile. The sides usually flare at a moderate angle, in the same range woodworkers use for dovetails.
How deep should the key go?
For a key that does structural work, many makers aim for a depth of roughly a third to half the slab's thickness. Shallow keys around 3/8 inch deep are mostly decorative. Either way, leave plenty of solid wood beneath the recess.
Which way should the grain run in a butterfly key?
The grain of the key should run along its length, from one wing to the other, so it crosses the crack at a right angle. That puts long, strong fibers through the waist, where the key does its work. If the grain runs the other way, the waist becomes short grain and can snap the first time the crack pushes on it.
Choose straight-grained, defect-free hardwood that is at least as hard as the slab and just as dry. Contrasting species are a popular choice, such as walnut keys in maple or maple keys in walnut, but keys cut from offcuts of the same slab give a quieter look. Avoid figured or wild grain for keys; it is beautiful in a slab and a liability in a small piece under load.
Where should you place butterfly keys?
Set each key square to the crack with its waist centered over it. The most important key goes near the tip of the crack, where any further splitting would start. On a long crack, add more keys along its length at fairly even intervals. The exact spacing depends on the crack and the look you want.
Decide early whether the keys will show. Keys on the underside do their job out of sight, which suits a slab where the crack itself is the feature. Keys on the top become part of the design, so lay them out with the whole piece in mind.
What tools and materials do you need?
- Key stock: dry, straight-grained hardwood milled a little thicker than the recess depth
- A bandsaw, scroll saw, or fine handsaw to cut the keys
- A trim or plunge router with a small straight or spiral bit, or a router inlay kit and bowtie template
- Sharp bench chisels, a marking knife, and a pencil
- Double-sided tape to hold the key while you scribe around it
- Wood glue or slow-curing epoxy, a mallet, and a wooden block or caul
- A flush-cut saw, block plane, card scraper, and sandpaper for trimming
How do you cut and install a butterfly key, step by step?
- Flatten the slab first. A recess cut into a twisted or cupped surface ends up uneven in depth. Rough-flatten the face that will receive keys; our guide to flattening a slab with a router sled walks through the setup.
- Make the keys. Mill the key stock about 1/16 inch thicker than the planned recess depth so the key sits slightly proud. Lay out the shape from a template, cut just outside the line, then true the edges square to the face with a sanding block or chisel. A slight bevel on the bottom edges helps the key start into its recess.
- Lay out the placement. Set each key on the slab, center its waist on the crack, square it up, and mark its position. Number each key and its spot, since hand-fitted keys are not interchangeable.
- Scribe the outline. Hold the key in place with double-sided tape and trace around it with a sharp marking knife, keeping the blade tight against the key. Remove the key and deepen the knife line.
- Rout out the waste. Set the router bit to depth and clear the recess freehand, staying about 1/16 inch inside the scribed line. Take more than one pass if the recess is deep.
- Pare to the line. Drop a chisel into the knife line and pare the walls straight down, squaring the corners the router left round. Check that the bottom is flat.
- Test the fit. The key should start into the recess with firm hand pressure and show no gaps. Shiny burnished spots on the walls show where it binds; pare those lightly. Do not force a full dry fit, or the key may get stuck.
- Glue and seat the key. Spread glue on the recess walls, align the key, and tap it home with a mallet over a block until it bottoms out. Epoxy is a good choice for oily species or a fit with small gaps. Wipe off the squeeze-out.
- Trim flush. Once the glue has cured, cut most of the excess with a flush-cut saw, then bring the key level with a block plane, scraper, or sander. Work from the edges of the key toward its center to avoid chipping the corners.
Should you use a router inlay kit or cut keys by hand?
A router inlay kit pairs a guide bushing and a small spiral bit with a template. One configuration cuts the recess and the other cuts the matching key, so the two fit with no paring. Follow the kit's instructions for which setup does which, and run a test on scrap before touching the slab. Templates are faster when you need several identical keys; the hand method is slower but works for any size or shape you can draw.
What mistakes should you avoid with butterfly keys?
- Running the key's grain parallel to the crack, which leaves a weak, short-grained waist
- Installing keys in a slab that is not yet dry and stable
- Clamping a crack closed before keying it
- Placing every key in the middle of a crack and none near its tip
- Cutting the recess deeper than the key is thick, which leaves a dip after flattening
- Forcing a tight key with heavy hammer blows and splitting it or the slab
- Planing the key flush in one direction and tearing out its far corner
Planning a project with a slab that has some character? Browse kiln-dried slabs and burls in the shop, or come look at the wood in person at the yard in Sharon, VT. Not local? We ship freight to the contiguous 48 states; the shipping page has the details. For finishing once the keys are in, see our guide to caring for and finishing live edge slabs.
FAQ: butterfly keys in live edge slabs
What is a butterfly key in woodworking?
A butterfly key, also called a bowtie or dovetail key, is a small double-dovetail-shaped piece of wood inlaid across a crack or joint. Its wide ends sit in solid wood on each side, so the two sides cannot pull apart without breaking the key.
Do butterfly keys stop cracks from growing?
They are one of the most reliable ways to stop a crack from spreading when the wood is dry and the key is sized, oriented, and fitted correctly. They will not stop a slab that is still drying from moving and checking elsewhere.
Which way should the grain run on a butterfly key?
Along the length of the key, from wing to wing, so it crosses the crack at a right angle. Grain running parallel to the crack leaves the waist as weak short grain that can snap.
How deep should a butterfly key be?
For structural keys, many makers aim for roughly a third to half the slab's thickness. Keys around 3/8 inch deep are mostly decorative. Leave plenty of solid wood under the recess and allow for final flattening.
Should you fill the crack with epoxy before or after installing keys?
Either order works. Many makers key the crack first and fill it afterward, which keeps the crack at a fixed width while the epoxy cures. Let any fill cure fully before the final flattening pass.